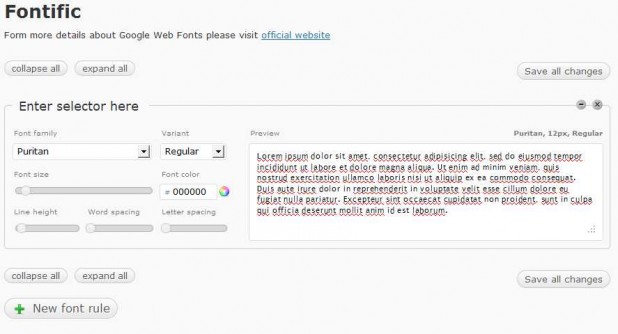
Google Fonts makes our web / blog look prettier. There are lots of fonts that provide and we could choose and put it in our web. Here’s new plugin that manage Google Fonts that will present in our blog. The plugin name is Fontific and you can download here.
This plugin created by Andrei at kringapps.com. If you like to change your font frequently, this plugin is useful. Of course, you do this make your reader comfortable with your reader.
How To Install Fontific WordPress Plugin
- Go to your WordPress Dashboard
- Select Manu Plugin > Add New Plugin and began Search Fontific
- Install and you’re done.
This is an easy plugin to use, you can select Google Fonts at the drop down and directly sample text will change like what your choose. Besides, you can control size and color of your fonts.
But to implement Fontific, you have to open themes editor and edit “font-family†at style.css. For example at the picture above, you should place this code at your Stylesheet (style.css).
font-family:Â "Puritan", arial, serif;
Find “font-family†and replace with that code.

Fontific implements fonts itself, you just need to have a proper wp theme with wp_header() in the head.
Could you explain more specific about wp_header() because I’ve tried using default WordPress themes : Twenty Ten 1.1.
First of all you need a css selector to specify elements on your page that you wish to apply font to. Try to search the web for “css slectors” if you don’t know what’s that.
Then, when you create a font rule, there is a “Enter selector here” box, thisi is where you need to enter your selector. Adjust font settings and then Save All. If your theme is propperly coded, like TwentyTen then fonts will be applied by themeselves to elements you’ve specified using css selector.